
I hope to share with you in the coming months, many of the changes that we've made!
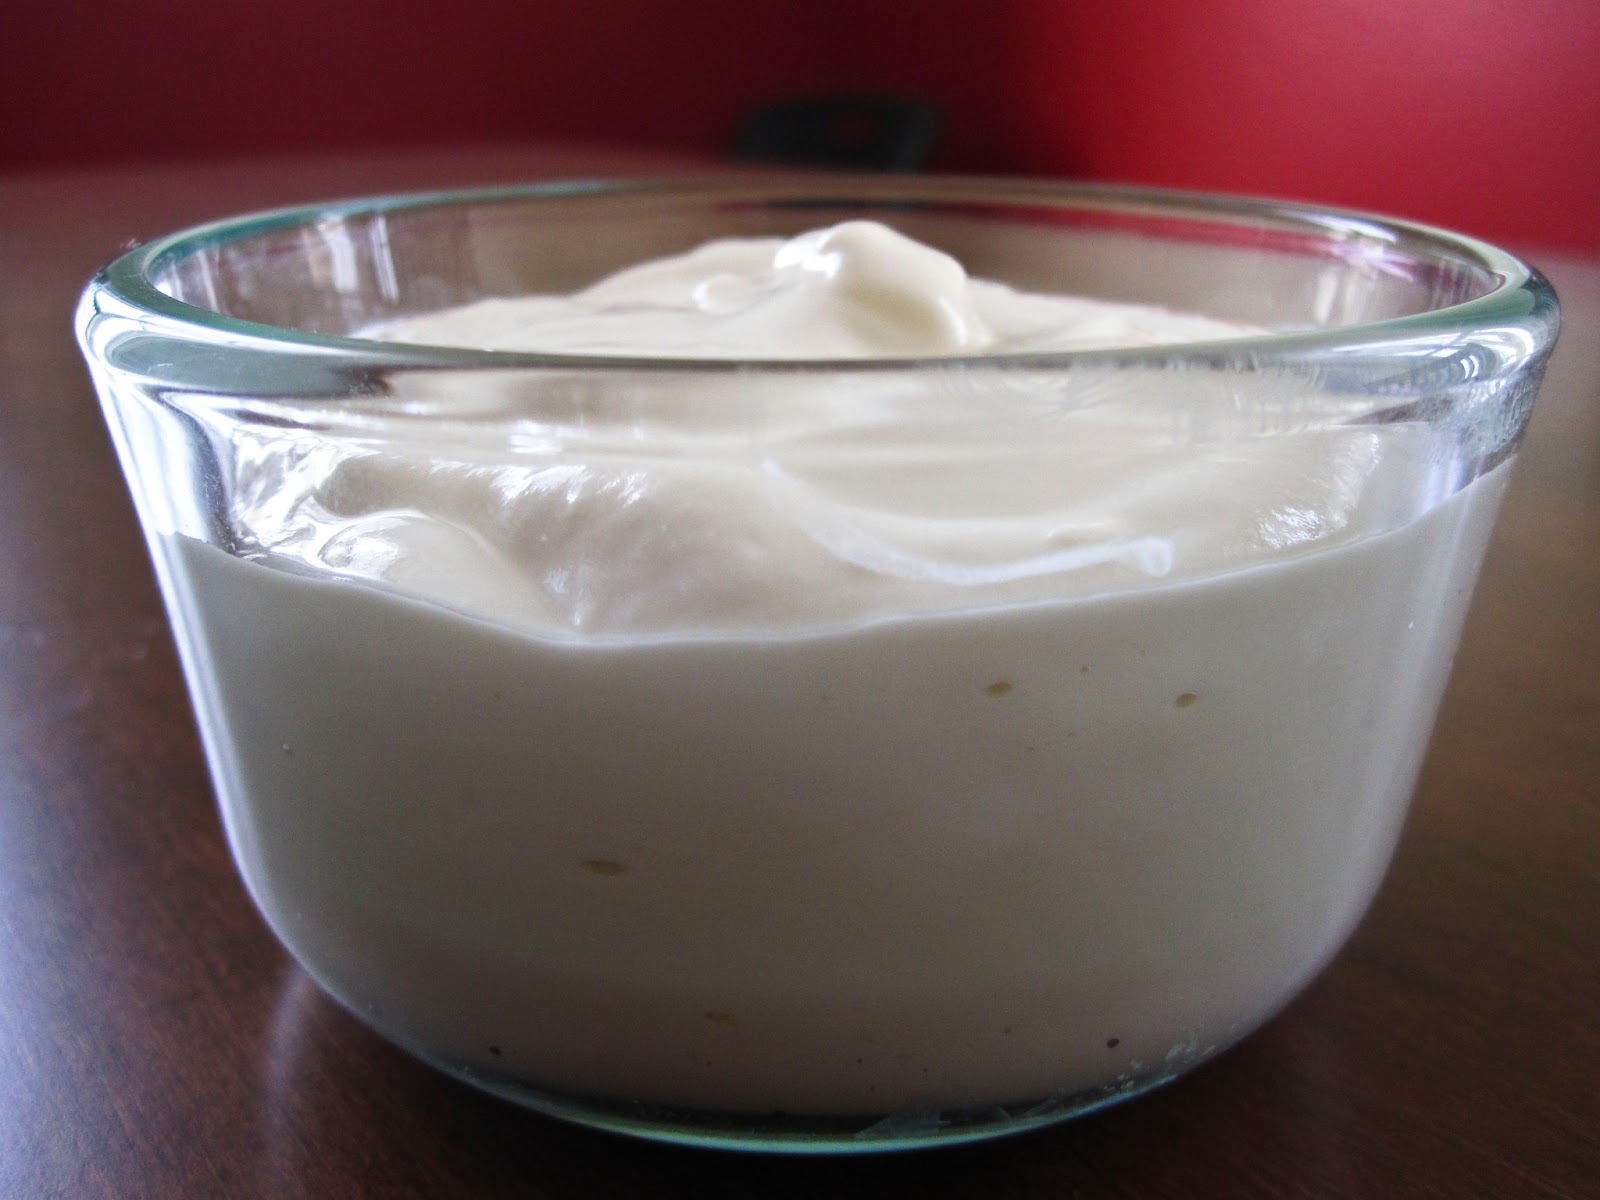
But today, I want to talk about our change from store-bought yogurt to homemade greek yogurt!
I've had a few people ask me about it, so I wanted to share my recipe with you here!
Here's the story of my homemade yogurt start!
My kids and husband all love yogurt and eat it everyday (I'm not much of yogurt fan). Back in August I found a recipe for homemade yogurt from The Frugal Girl. It didn't look that complicated, so I figured I'd give it a shot, and see if my family approved (if it turned out, of course.) So I made a vanilla-flavored half batch in my trial run, and it was a hit! The only downer was that my greek-yogurt loving husband found it too runny and so he didn't eat much it, although he liked the flavor. Well, I didn't know how to fix the runny-ness, and since I didn't think we'd go through that much yogurt, I decided to shelf the recipe for another season of life. A friend who used the same recipe, suggested making greek yogurt by straining it in cheesecloth as she did. So I decided that once we moved, I would play with the recipe and figure out how to make it just perfect for our family! Let's just say that I've become a yogurt-making machine! I make it almost weekly! My family can't get enough of it!
First of all, I follow the recipe here for regular yogurt.
I will copy and paste it below so that I can make a few notes (in italics), but know that this recipe is from The Frugal Girl, and not original to me.
Plus she has some great step-by-step photos!
Homemade Yogurt by The Frugal Girl
(makes 4 quarts, which will keep for at least a month in the fridge)
To make a delicious vanilla version of this yogurt, add 1/2 to 1 cup of sugar to the four quarts of milk when it’s cooling in the sink. Then stir in 1-2 tablespoons of vanilla, depending on your preference, and proceed as usual with the recipe.
(I follow the instructions for the vanilla flavored version. I've found that 2/3 c sugar and 2 Tbls of vanilla is the perfect amount for my family's taste. I went too minimal on the sugar and vanilla the first time. Better to have to cut back the next time then have bland yogurt the first time that your family doesn't like!)
Ingredients
1 gallon of whole milk (whole milk will create a thicker, creamier yogurt than lower fat milks will)
1 cup yogurt starter(you can use a small cup of plain Dannon or Yoplait yogurt, or you can use a cup from your previous batch.)
Cheesecloth, collanders, bowls for straining
1. Place four quart glass canning jars, four lids, and four screw-tops in a large pot. Fill with an inch of water; cover with lid and heat to boiling. Boil for ten minutes. Leave the lid on the pot and move it off the heat until you are ready to use the jars.
I also use plastic food storage containers/Tupperware to hold my yogurt. I also usually do this step while I'm working on steps 2 and 3.
2. Pour one gallon of milk into a large, heavy bottomed stockpot or Dutch oven. Heat the milk to 185-190 degrees Farenheit(90-90 Celcius).
3. Place the pot in a sink filled with cold water and let the milk cool to 120 degrees fahrenheit(50-55 degrees celsius)
(Add vanilla and sugar while cooling, if desired.)
4. Stir one cup of yogurt starter into the cooled milk, using a whisk. Stir well to ensure that the starter is thoroughly incorporated into the milk.
5. Pour the milk into jars, and put the lids and bands on. Place them into a cooler.
Again, I've started using plastic containers. Since I'll be straining it, they're going to dumped out and then filled up again, and tupperware is easier to pour milk into than jars, especially the second time around when its thick!
6. Heat one gallon of water to 120 degrees F(50-55 degrees C) and pour into cooler.
I run hot water into gallon sized bags and put them in the cooler
7. Shut cooler lid and leave in a warm place for three hours. When the three hours are up, place the yogurt in the refrigerator.
This is where I strain my yogurt. Before I put it in the fridge, I place a collander or mesh strainer over top of a mixing bowl, lined with a few layers on cheese cloth. I then, dump some yogurt in. You can gather the cheese cloth around the top of the yogurt and tie it off, or you can just leave it open. I leave mine open because I don't strain it for very long. I usually have about 2 bowls/collanders of yogurt to put in the fridge, so I have to clear off half of my top shelf to make it fit. You'll have to experiment with the amount of time you want to strain your yogurt, but I've found that 2 hours is perfect for us. Many people strain for several hours. I first strained mine overnight and it was much too thick. The good news is that you can always stir some of the whey back in. After the yogurt is done straining and is your desired thickness, you can spoon it back into your containers (you'll have to rewash them!) and stick them back in the fridge (or you can eat some first!) :)
* * * * *

I find that I lose about 1/3 of my original amount (1 gallon). My last container made about 84 ounces. But for about the same cost as a store-bought 32 ounce/1quart tub of regular yogurt at the store, I made 84 ounces (approx) of greek yogurt. Not only does it cost SO much less, but it has WAY less sugar than most store-bought yogurt. And knowing exactly how much sugar is in my yogurt and what's exactly in it, makes me feel so much better about my kids eating it and it makes it worth all the work!
Also, if you make plain yogurt, it is a healthy substitute for mayonnaise in sauces and many other recipes. I love to use it in chicken salad and mac and cheese for a little added tangy flavor! Yum!
If you have any yogurt making tips or experience to share, please do! Leave a comment below and let's all benefit from each other!
Just wondering what percentage of milk you use... wondering if it will make a difference. We tried this today and used 2% milk... we lost over half a gallon in the form of whey.
ReplyDeleteI use whole milk. I went back through my post and realized that I never specified that, so I'll go back and edit that in!
DeleteWhole milk will create a thicker and creamier yogurt than lower fat milks will!